When Things Don’t Go as Planned... / Quand les Choses ne se Passent pas Comme Prévu...
Charlevoix Part 2
When Things Don’t Go as Planned: A Creative Alternative to Autumn Photography
As I mentioned in part one of this post, my initial plan to capture colorful autumn landscapes didn’t go quite as expected. Faced with this situation, I had to come up with an alternative to produce some interesting shots.
That’s when I remembered I had set up a film simulation recipe on my camera that I thought could work well with the style I wanted to achieve. This simulation is a modified version of the Nomadic Mood recipe by Ivan Yolo, which you can find here.
Why Modify the Recipe?
I adjusted the recipe for two main reasons:
Sensor Compatibility: Ivan’s recipe is designed for Fujifilm X-Trans IV sensors, whereas I’m using a Fujifilm X-Trans III (Fuji X-T2).
Noise Reduction: I’m not particularly fond of deliberately adding noise to simulate a "film look," so I set the Noise Reduction option to 0 instead of -4 and set the Grain Effect to Off, as recommended in the original recipe.
Here’s Ivan's original configuration:
Film Simulation: Classic Negative
Dynamic Range: DR400
Highlight: -2
Shadow: +2
Color: -2
Noise Reduction: -4
Sharpening: -1
Clarity: 0
Grain Effect: Strong, Large
Color Chrome Effect: Strong
Color Chrome FX Blue: Strong
White Balance: Auto, +4 Red & -6 Blue
ISO: Auto – 6400
Exposure Compensation -1/3 to +1/3
And here’s my modified version:
Film Simulation: Classic Chrome
Dynamic Range: DR400
Highlight: -2
Shadow: +2
Color: -2
Noise Reduction: 0
Sharpening: 0
Clarity: 0
Grain Effect: Off
White Balance: Auto, +4 Red & -6 Blue
ISO: Auto – 6400
Exposure Compensation -1/3 to +1/3
The Film Simulation Results
Below are some images taken directly with this configuration, without any post-processing adjustments.
Post-Production Editing: My Approach
While I do appreciate the results from the film simulation, I’m someone who enjoys refining my photos in post-production to achieve a specific visual effect. To do this, I set the Image Quality option to "F + RAW," which allowed me to capture both JPEG images from the film simulation and RAW files for more in-depth editing in Lightroom and Photoshop.
I started my adjustments by trying to replicate the look of the film simulation and then fine-tuned the settings to achieve the style I was aiming for. After editing my first photo, I created two presets in Lightroom—one for pre-Photoshop adjustments and one for post-Photoshop editing—to streamline the process for the other photos and maintain a consistent style across the series.
If there’s interest, I could write a more detailed post about my workflow and the specific settings I used to achieve these results.
The Verdict: Film Simulation or Lightroom Editing?
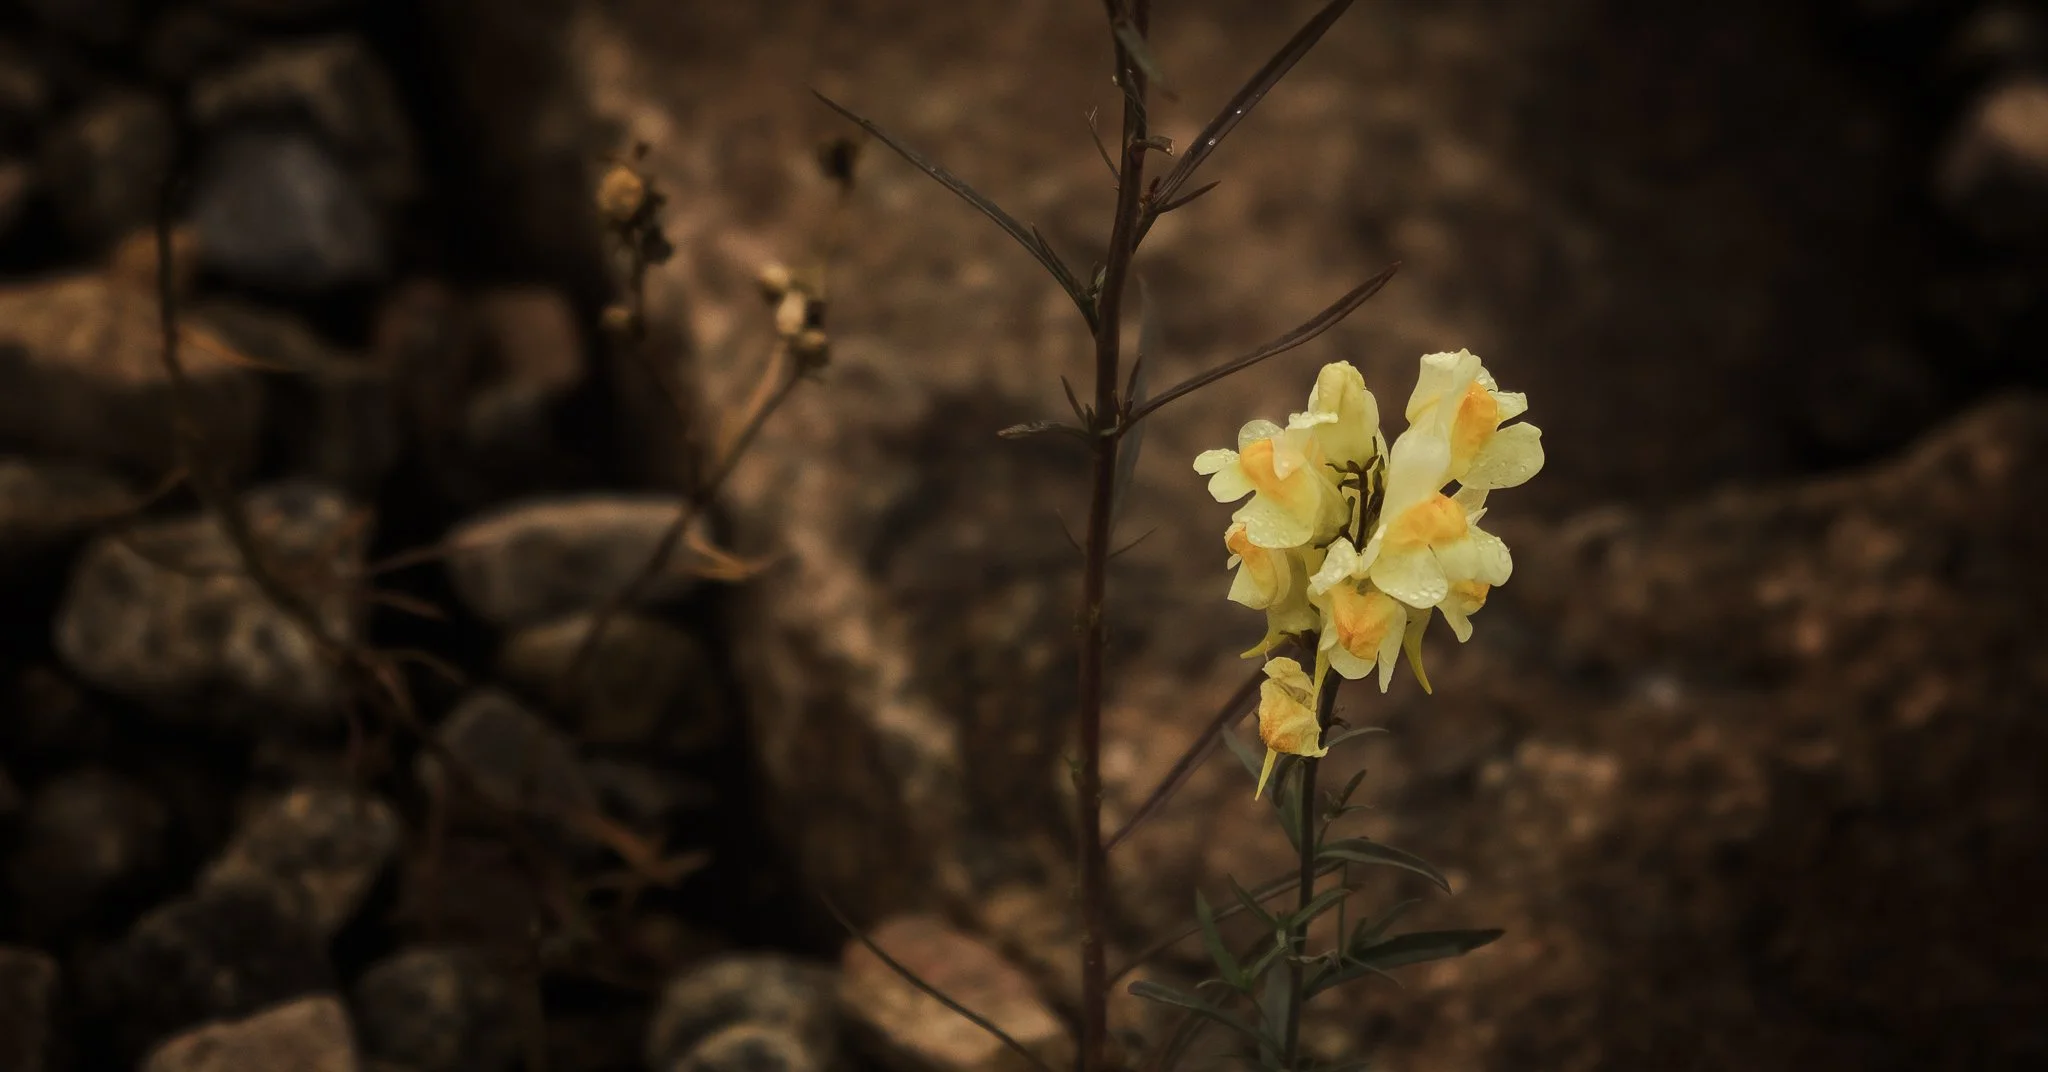
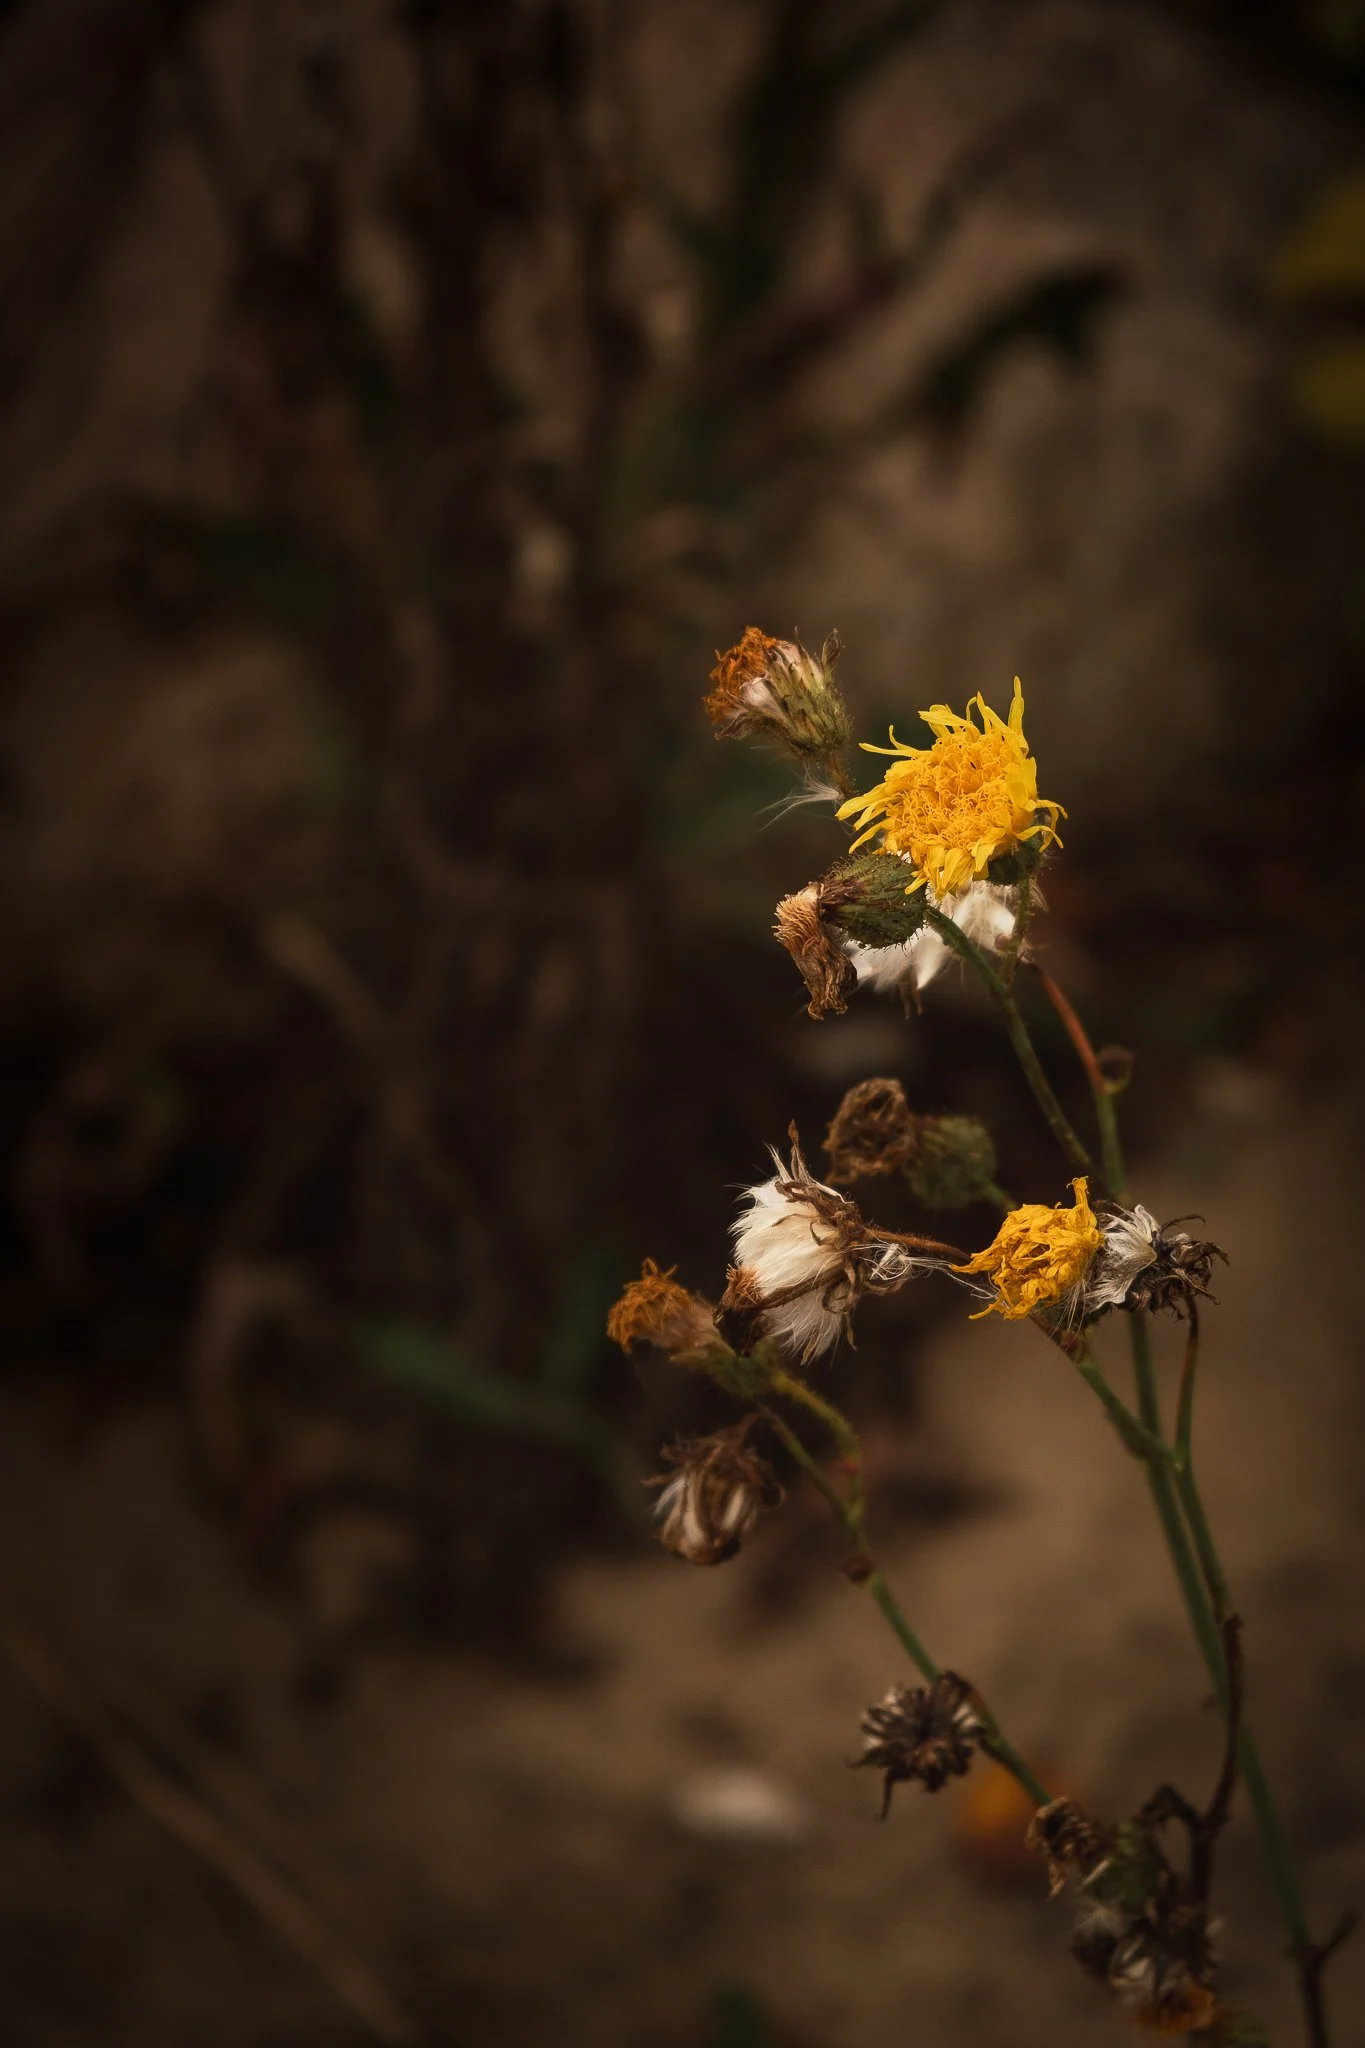
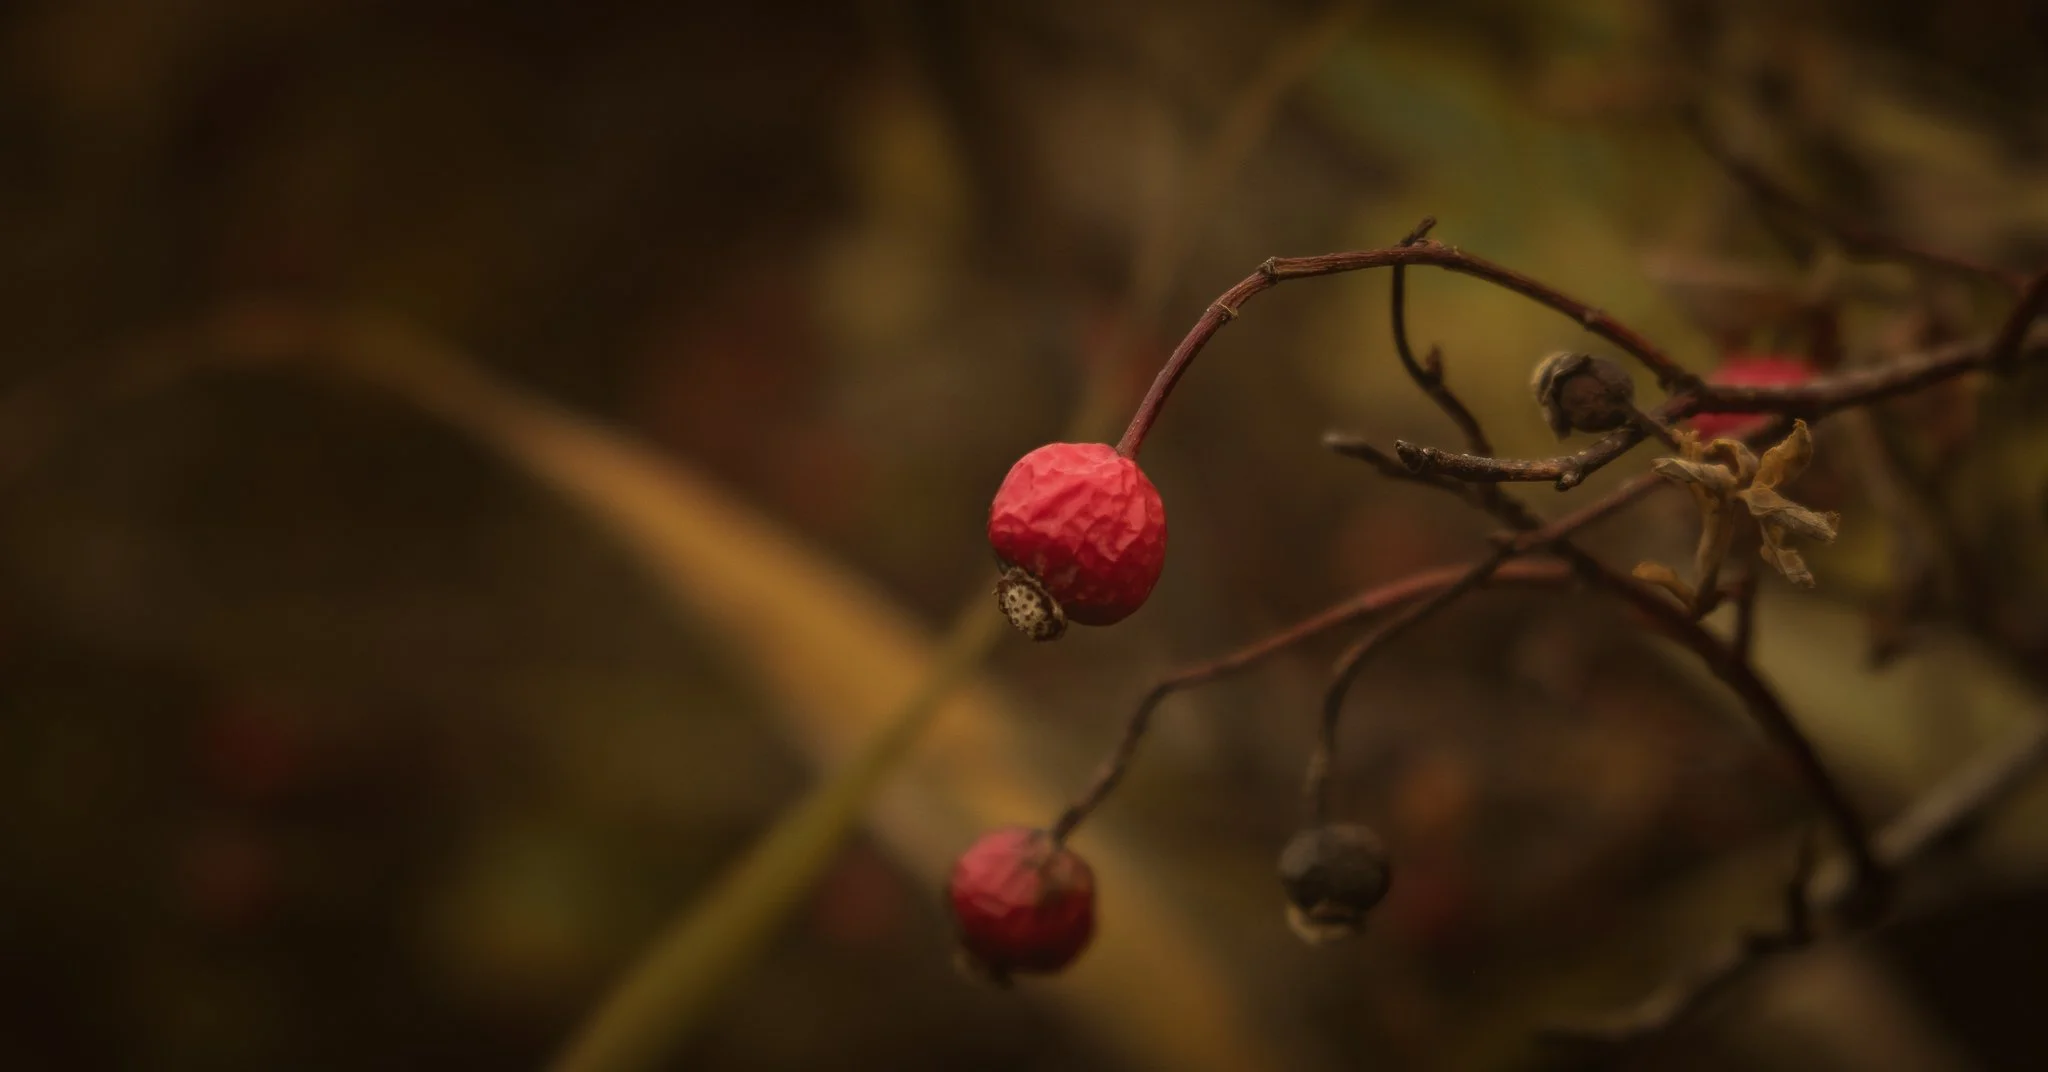
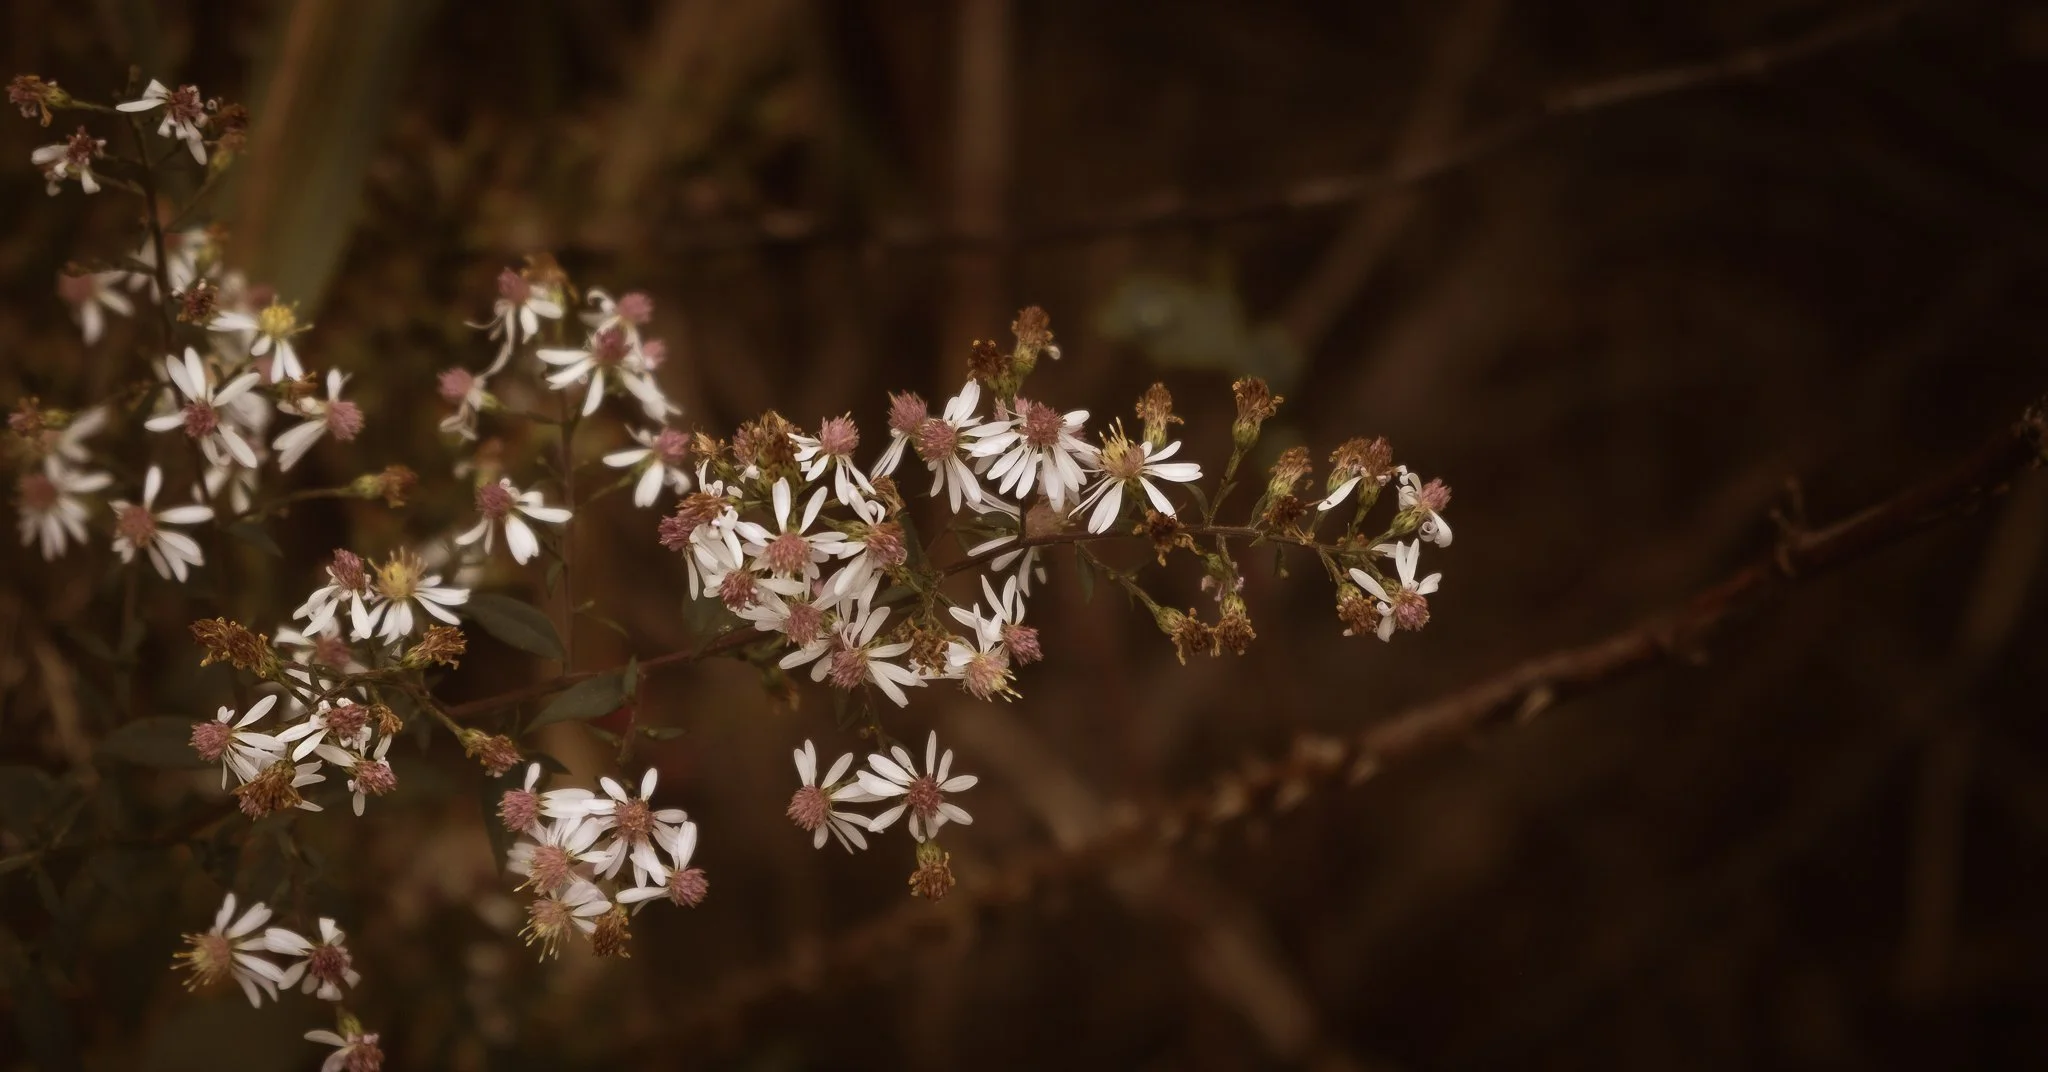
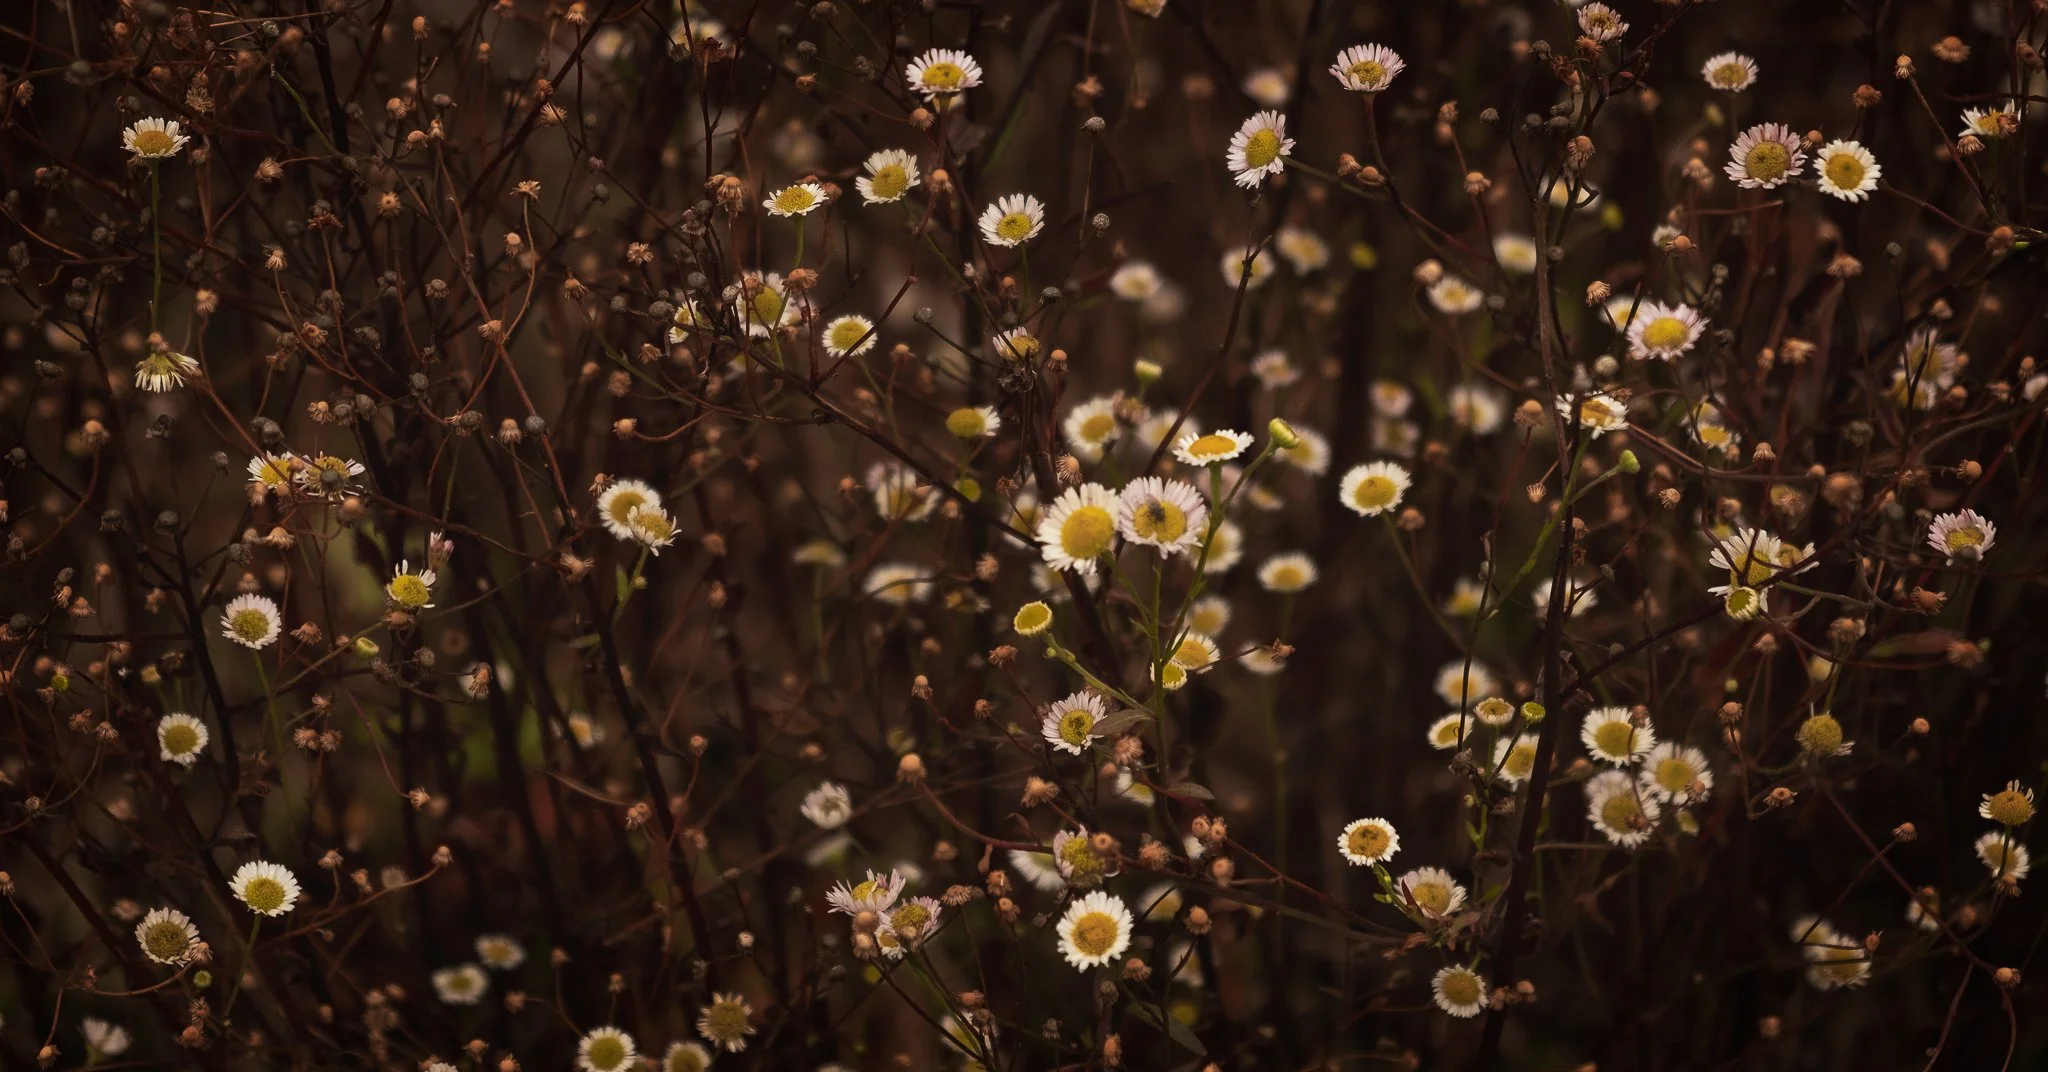
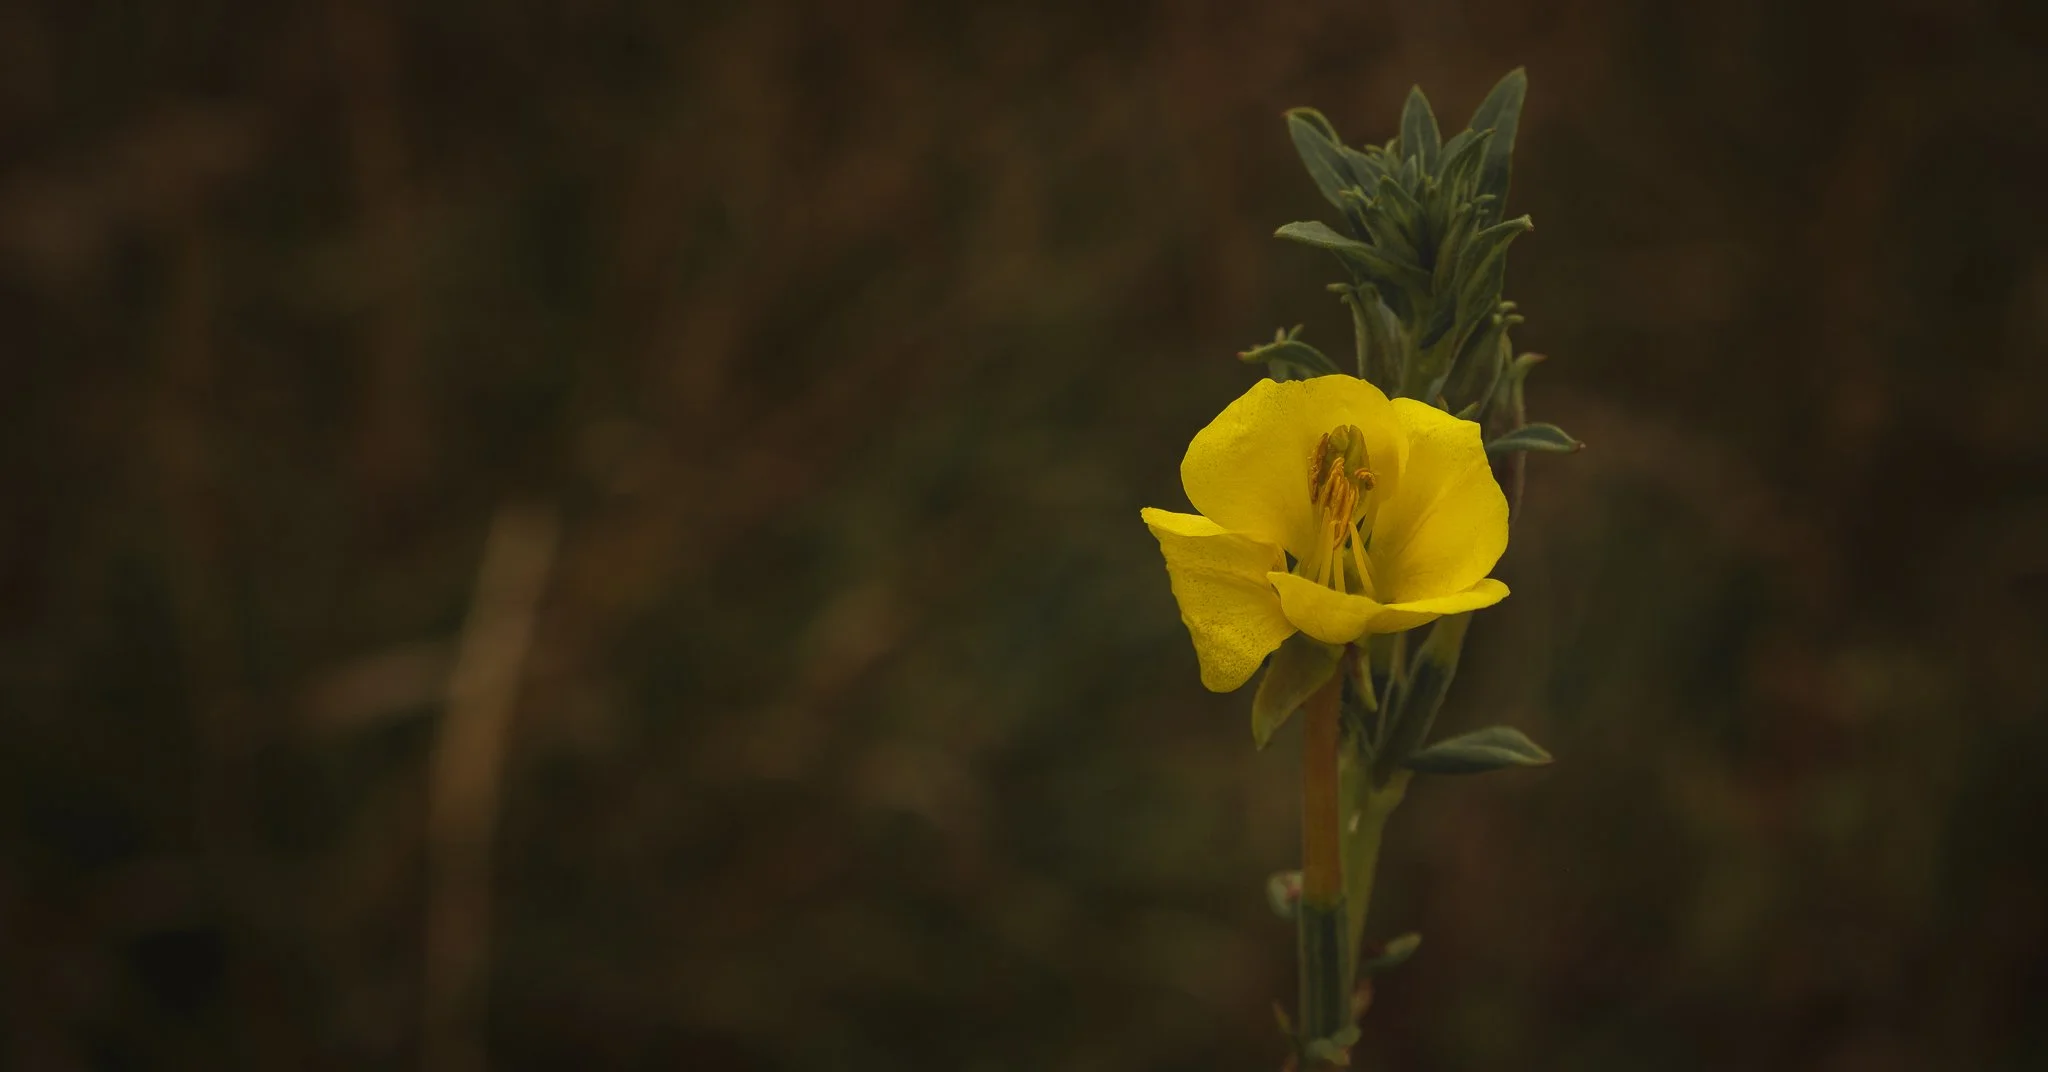
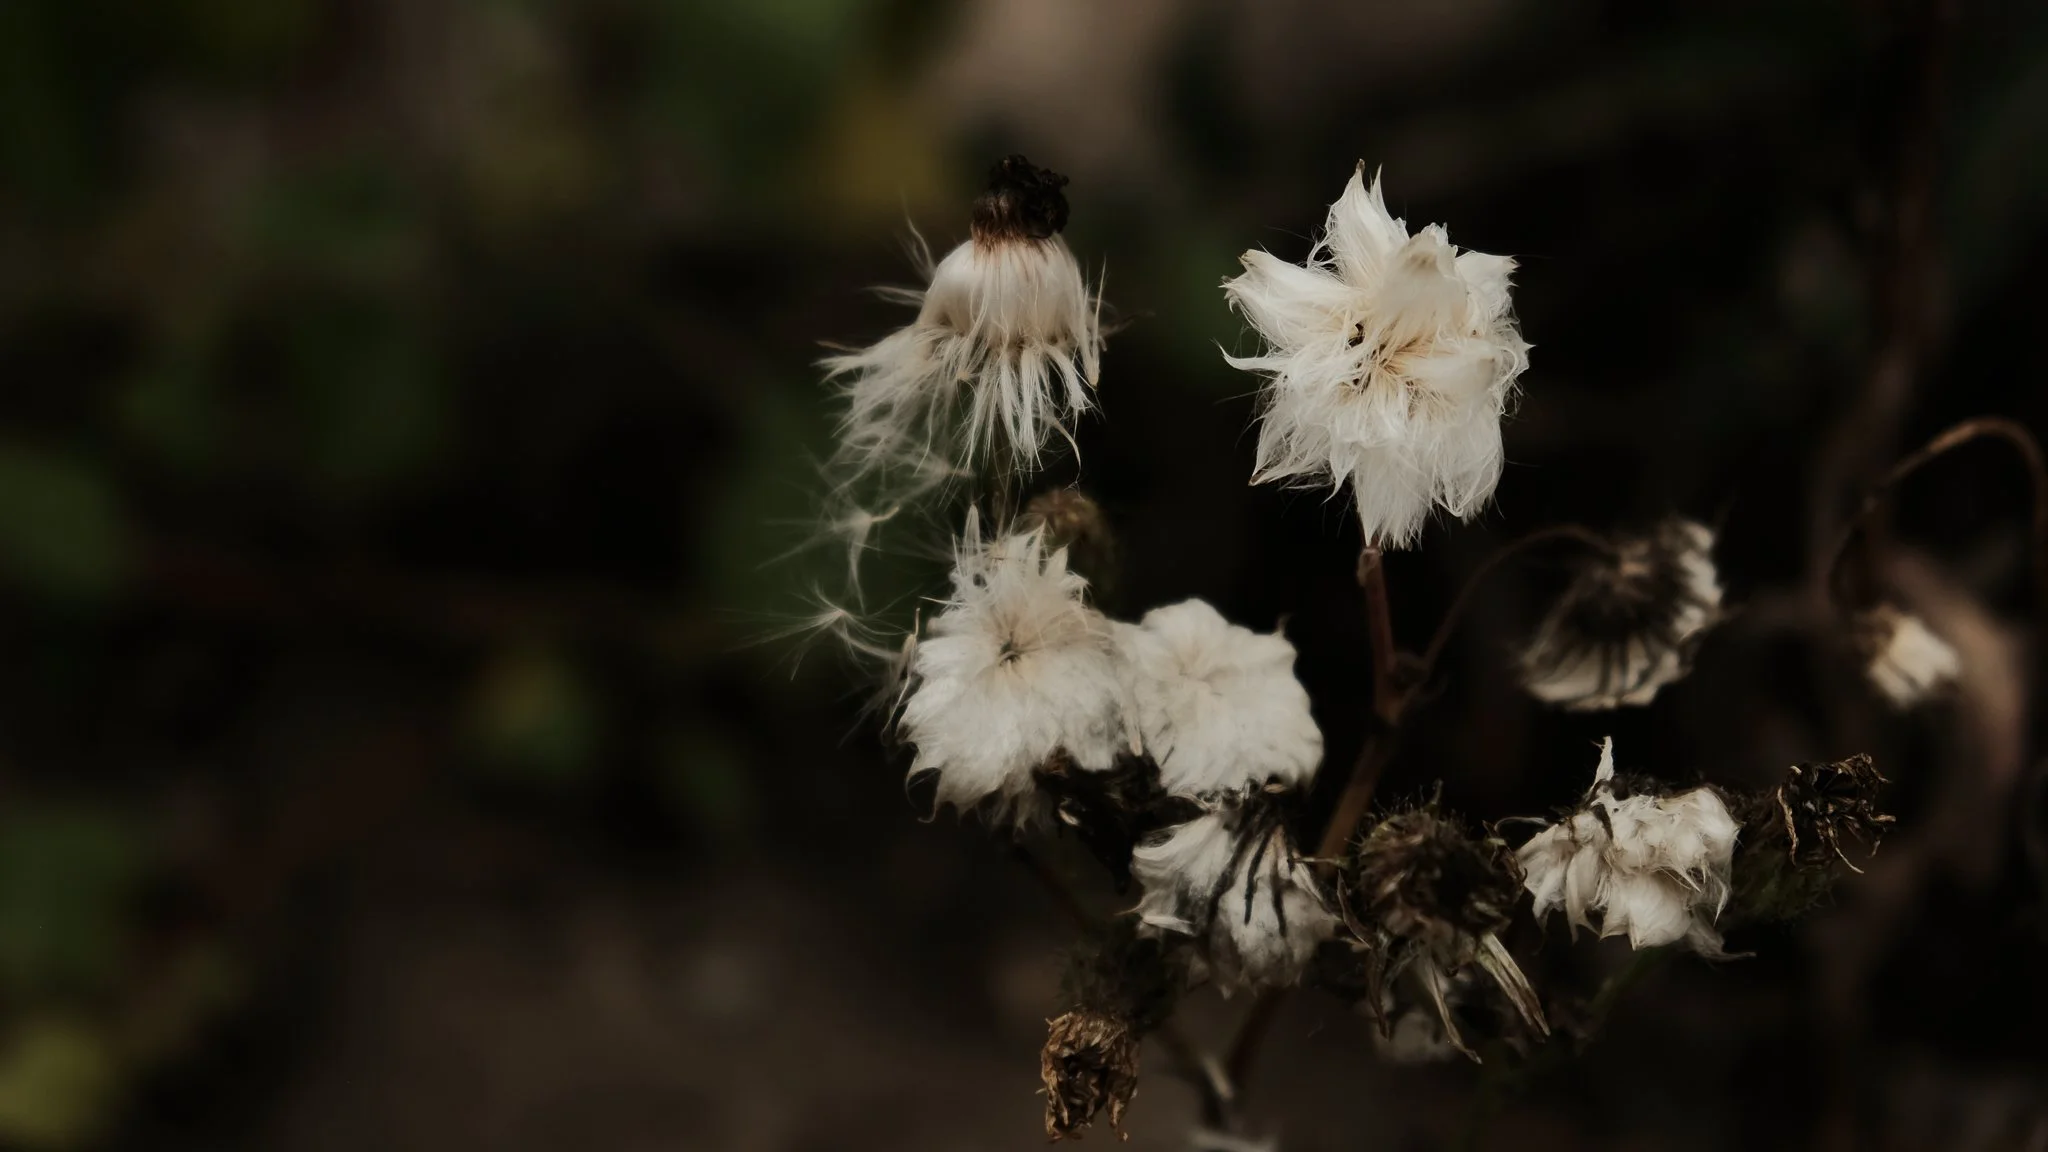
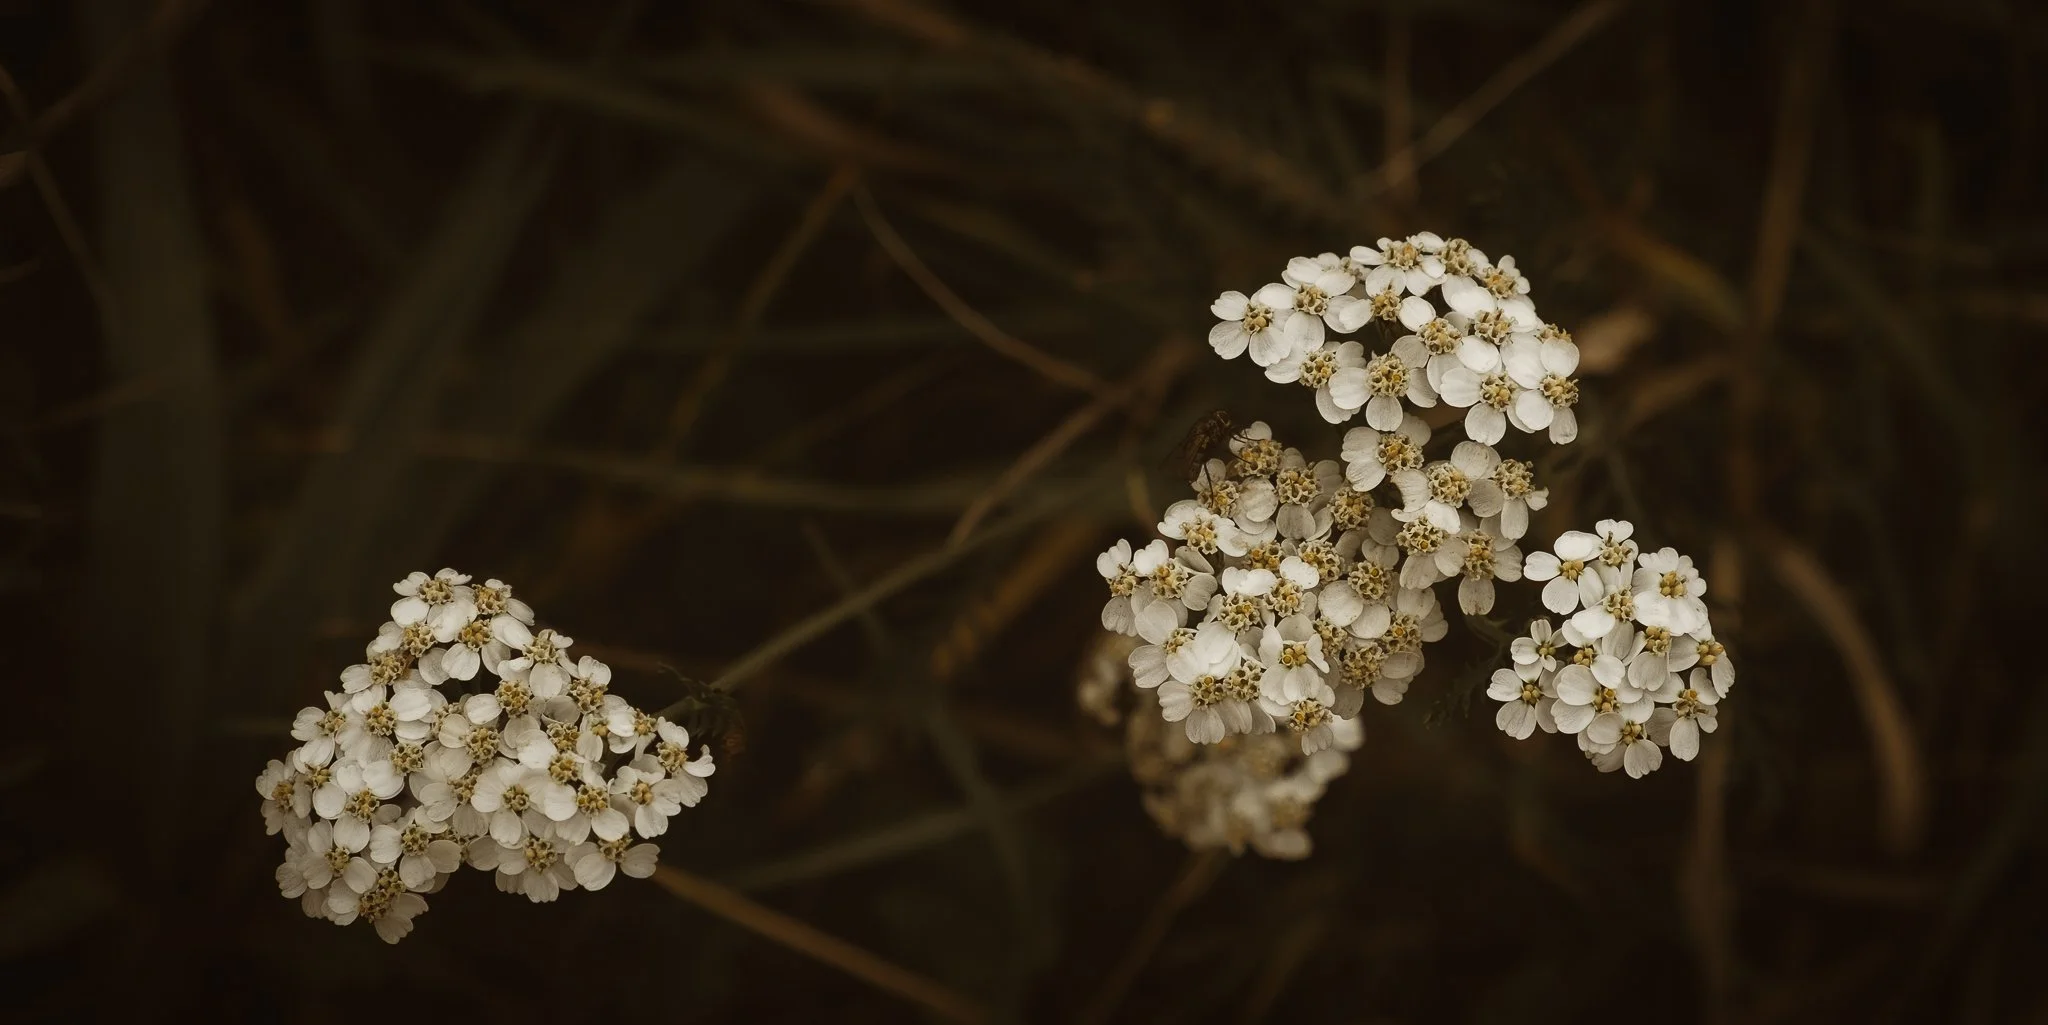
Here’s the series of photos I produced after editing.
What do you prefer? The film simulation version, or the Lightroom-edited one? Feel free to share your thoughts in the comments!
Version française
Charlevoix, Partie 2
Quand le Plan Ne Se Passe Pas Comme Prévu : Une Alternative Créative à la Photographie d'Automne
Comme je l'ai mentionné dans la première partie de cet article, mon projet initial de capturer des paysages automnaux riches en couleurs n’a pas tout à fait fonctionné comme je l’avais espéré. Face à cette situation, j'ai dû trouver une alternative pour produire des clichés intéressants.
C’est à ce moment-là que je me suis souvenu avoir configuré une simulation de film sur mon appareil photo, un style qui, selon moi, pouvait parfaitement correspondre à l'atmosphère que je souhaitais capturer. Cette simulation est une version modifiée de la recette Nomadic Mood d'Ivan Yolo, que vous pouvez retrouver ici.
Pourquoi Modifier la Recette ?
J'ai adapté cette recette pour deux raisons principales :
Compatibilité des capteurs : La recette d'Ivan est conçue pour les capteurs Fujifilm X-Trans IV, alors que je travaille avec un Fujifilm X-Trans III (Fuji X-T2).
Réduction du bruit : Je ne suis pas fan de l'ajout volontaire de bruit pour simuler l'effet "film". J’ai donc réglé l'option de réduction du bruit à 0, au lieu de -4 et j’ai réglé l’option Grain Effect à Off, comme recommandé dans la recette originale.
Voici la configuration originale d'Ivan :
Film Simulation: Classic Negative
Dynamic Range: DR400
Highlight: -2
Shadow: +2
Color: -2
Noise Reduction: -4
Sharpening: -1
Clarity: 0
Grain Effect: Strong, Large
Color Chrome Effect: Strong
Color Chrome FX Blue: Strong
White Balance: Auto, +4 Red & -6 Blue
ISO: Auto – 6400
Exposure Compensation -1/3 to +1/3
Et voici ma version modifiée :
Film Simulation: Classic Chrome
Dynamic Range: DR400
Highlight: -2
Shadow: +2
Color: -2
Noise Reduction: 0
Sharpening: 0
Clarity: 0
Grain Effect: Off
White Balance: Auto, +4 Red & -6 Blue
ISO: Auto – 6400
Exposure Compensation -1/3 to +1/3
Les Résultats de la Simulation de Film
Ci-dessous, vous trouverez quelques images capturées directement avec cette configuration, sans aucune modification postérieure.
L'Édition Post-Production : Mon Approche
Même si j’apprécie les résultats obtenus directement avec la simulation de film, je suis quelqu’un qui aime peaufiner ses photos en post-production pour obtenir un rendu visuel particulier. Pour cela, j’ai réglé l’option Image Quality sur "F + RAW", ce qui m’a permis d’enregistrer à la fois les images JPEG issues de la simulation de film et les fichiers RAW pour un travail plus poussé dans Lightroom et Photoshop.
J’ai commencé mes ajustements en essayant de recréer l’apparence de la simulation de film, puis j’ai affiné les paramètres pour atteindre le style que je recherchais. Après avoir traité ma première image, j’ai créé deux presets dans Lightroom — un pour les ajustements avant Photoshop et un pour ceux après — afin de faciliter le traitement des autres photos et d’assurer une certaine uniformité dans la série.
Si cela vous intéresse, je pourrais rédiger un article plus détaillé sur mon processus de travail et les réglages que j’ai utilisés pour obtenir ces résultats.
Le Verdict : Simulation de Film ou Édition Lightroom ?
Voici donc la série de photos que j’ai obtenue après retouche.
Qu'en pensez-vous ? Préférez-vous la version avec la simulation de film, ou bien l'édition réalisée dans Lightroom ? Vos commentaires sont les bienvenus !


